How to Avoid Horse Hoof Marks During 8K MirrorFinishing Process?
To answer the question, “How to Avoid Horse Hoof Marks During 8K Mirror Finishing Process?”, you should always use a consistent method for achieving a flawless 8K mirror finish. Start by thoroughly cleaning and properly preparing the surface. Even tiny particles of dirt or applying too much pressure can cause horse hoof marks, which ruin the smooth, reflective appearance. Professionals evaluate mirror finishes by measuring the surface roughness average (Ra), and a true mirror finish requires an Ra between 0.05 and 0.1 micrometers. To avoid horse hoof marks during the 8K mirror finishing process, make sure to clean and polish with extreme care and attention to detail.
Key Takeaways
· Make sure your metal and workspace are very clean. This helps stop small dirt from making marks. – Use abrasives from rough to fine in the right order. Do not skip any steps so scratches go away smoothly. – Press down evenly and move your tool the same way each time. This helps you not get uneven spots. – Take breaks and use water or slow speeds to control heat. This keeps the metal safe and helps with polishing. – Look at your work often with good light. Fix any marks early to get a perfect mirror finish.
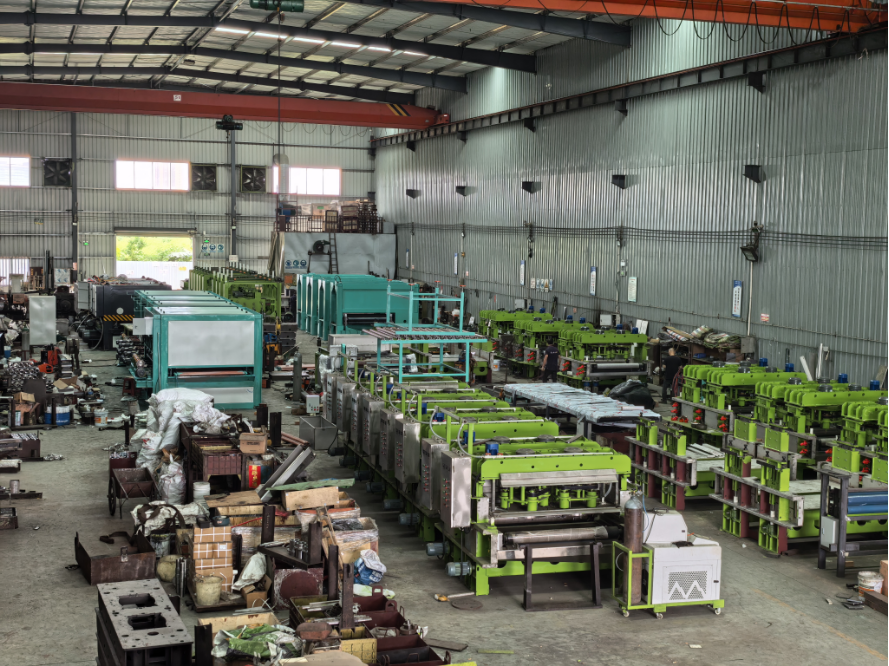
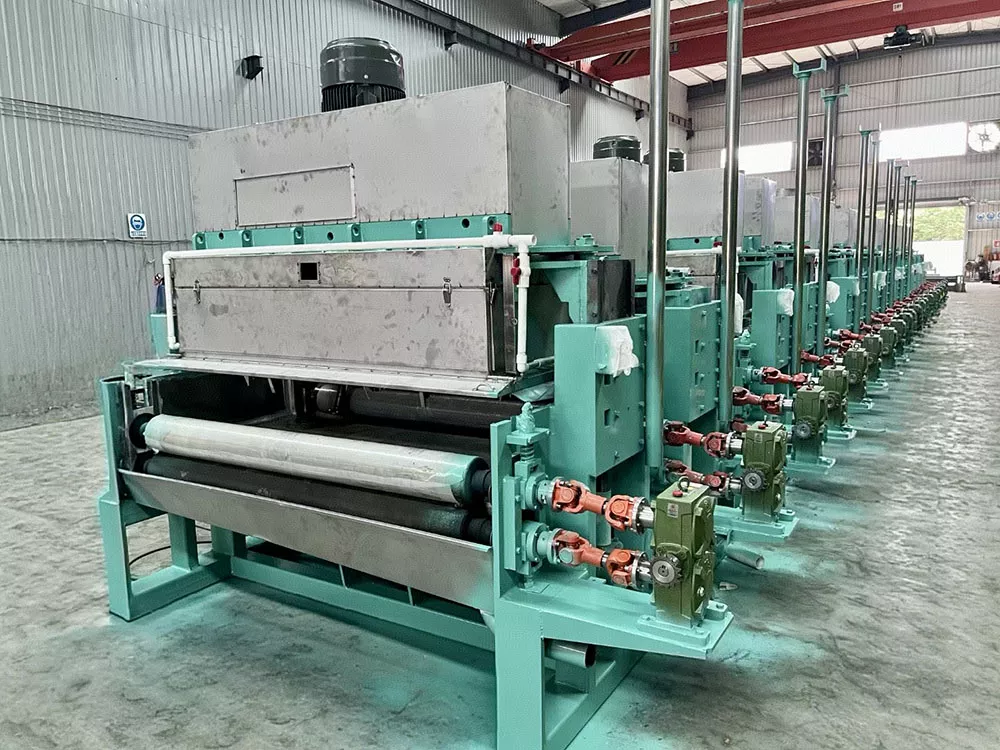
8K Mirror Finishing Line
How to Avoid Horse Hoof Marks During 8K Mirror Finishing Process?
Causes
If you skip steps, you might see horse hoof marks. These marks look like dull or uneven spots on metal. They can mess up the shiny look you want. Knowing what causes them helps you stop them.
- Debris or Contaminants: Small bits of dust or dirt can get stuck between the abrasive and metal. These bits scratch the metal and leave marks you can see.
- Inconsistent Pressure: Pressing too hard or too soft makes the surface uneven. This uneven pressure causes horse hoof marks to show up.
- Improper Abrasives: Using the wrong grit or bad abrasives can hurt the metal. Abrasives that are too rough or old will not make a smooth finish.
- Heat Buildup: Too much heat from rubbing can make the metal soft or bent. Heat can also break down the polishing compound, causing streaks and marks.
- Irregular Motion: Moving the tool in a random way makes overlapping marks. These marks look like horse hoof prints.
Tip: Always check your tools and materials before starting. Clean tools and the right abrasives help you stop many problems.
Prevention Steps
There are some important steps to answer, “How to Avoid Horse Hoof Marks During 8K Mirror Finishing Process?” These steps help you get a perfect, shiny finish every time.
- Ensure Surface Cleanliness
Clean the metal and your work area first. Wipe away all dust, oil, and old polishing stuff. Use a lint-free cloth and a good cleaner. Keeping things clean stops scratches from debris. - Use Progressively Finer Abrasives
Start with a rough abrasive and move to finer ones step by step. Each step should remove the last scratches. Do not skip any grit sizes. This helps you avoid deep scratches and marks. - Maintain Consistent Pressure and Motion
Press evenly as you polish. Move the tool in a steady, overlapping way. Do not stay in one spot too long. Being steady stops uneven spots and horse hoof marks. - Control Heat
Take breaks if the metal gets hot. Use a slower speed on your polishing machine if you can. Controlling heat keeps the metal from bending or getting streaks. - Inspect Regularly
Stop often and check your work in good light. Look for marks or dull spots. If you find problems early, you can fix them fast.
Step | Why It Matters | How It Helps Prevent Marks |
Clean Surface | Gets rid of debris and contaminants | Stops scratches from particles |
Use Finer Abrasives | Makes old scratches smoother | Lowers chance of deep marks |
Consistent Pressure/Motion | Keeps the finish even | Stops uneven patches |
Control Heat | Stops warping and streaks | Keeps mirror-like look |
Inspect Regularly | Finds problems early | Lets you fix things quickly |
Note: If you want to know how to avoid horse hoof marks during 8K mirror finishing process, always use these steps. Careful work and paying attention really help.
You can learn how to avoid horse hoof marks during 8K mirror finishing process by using these steps. Each step is important, so do not hurry. Take your time and check your work often. This way, you get a perfect mirror finish every time.
Preparation
Cleaning
You need to start every 8K mirror finishing process with a spotless work area and a clean metal surface. Cleaning is not just about looks. It is about quality and safety. When you polish metal, even a tiny bit of dust or oil can cause scratches or marks. These marks can ruin your mirror finish.
- Wipe the metal with a lint-free cloth and a cleaner like acetone. This step removes oils and dirt that hide scratches.
- Clean between each sanding or polishing step. This helps you see any scratches left behind.
- Metal dust, such as copper powder, can build up during scrubbing. This dust can cause problems if it gets near electrical equipment. Always keep your workspace clean to avoid safety risks.
Scientific studies show that the condition of the surface right before finishing is very important. If you clean well, you help make sure the final finish is smooth and shiny. Repeating the cleaning steps at each stage helps prevent defects and ensures a high-quality result.
Tip: Never skip cleaning, even if the surface looks clean. Invisible dust or oil can still cause problems.
Surface Inspection
After cleaning, you must inspect the surface closely. Inspection helps you find and fix any problems before you start polishing. Use good lighting and, if possible, a magnifying glass or optical tool.
Visual inspection means looking for dirt, grease, or other things that could hide defects. You should also check for scratches, dents, or rough spots. If you find any, remove them before moving on.
Experts use special tests and tools to check for things like soluble salts or the right surface roughness. These checks help make sure nothing will cause coating failure or marks later. Following these steps helps you answer the question: How to Avoid Horse Hoof Marks During 8K Mirror Finishing Process? Careful inspection and cleaning are key to a perfect mirror finish.
Note: Always inspect after every cleaning step. This habit helps you catch problems early and fix them before they get worse.
8K Mirror Mirror Finishing Process
Tools and Materials
Abrasives
You need to choose the right abrasives to get a true 8K mirror finish. Start with a coarse grit to remove imperfections. Move step by step to finer grits. This method helps you erase scratches from the last stage and makes the surface smoother each time. For example, you might begin with a 400-grit abrasive and finish with a 3000-grit pad. Each step brings you closer to a flawless shine.
Performance data shows that using high-quality, progressively finer abrasives keeps the surface strong and clear. If you use the right pressure and speed, you can keep up to 95% of the material’s original strength and clarity. If you skip steps or use poor-quality abrasives, you risk losing up to 15% of impact resistance. Always check your abrasives for wear or dirt before you start. Clean, fresh abrasives help you avoid horse hoof marks and other defects.
Tip: Overlap each polishing pass by about 50%. This habit helps you cover the whole surface and avoid swirl marks.
Polishing Pads
Polishing pads play a big role in the mirror finishing process. You should use pads made for high-gloss work. These pads come in different materials and levels of softness. Soft pads help you finish the surface without leaving new marks. Always use clean pads. Dirty or worn pads can scratch the metal and ruin your hard work.
- Start with coarser diamond pads to remove deep marks.
- Switch to finer pads as you move through each stage.
- Use plenty of water during wet polishing to cool the surface and prevent damage.
- Finish with a very fine pad or powder to erase micro-scratches.
You should inspect your pads often. Replace them if you see any dirt or damage. Well-maintained pads help you get a smooth, even finish every time.
Note: Clean tools and pads are just as important as the right technique. They help you avoid horse hoof marks and keep your mirror finish perfect.
Process Techniques
Pressure Control
You need to keep the same pressure while polishing. Pressing too hard can make dents or streaks. Pressing too soft might not remove old scratches. Many experts use special tools to check pressure. Most jobs need pressure between 30 and 45 psi. This amount helps you get a smooth finish without harm.
Aspect | Details |
Critical Process Parameter (CPP) | Pressure control for spray devices and CIP systems |
Validated Pressure Range | 30-45 psi for automated cleaning systems |
Instrumentation Accuracy | ±0.1 bar pressure accuracy |
Monitoring Requirements | Continuous monitoring with validated instruments; electronic backup with audit trail |
Statistical Benchmarks | Process capability index (Cpk) ≥ 1.33 for all critical parameters including pressure |
Control Limits | Deviations beyond ±3σ require formal investigation within 30 days |
Check your tools often to make sure they work right. Use tools that show the correct pressure. If you notice a change, fix it right away. This habit helps you avoid horse hoof marks and keeps your finish smooth.
Tip: Keep your pressure the same from start to end. This step is important for a perfect mirror look.
Motion Consistency
Move your polishing tool in a steady, even way. Do not rush or miss any spots. Overlap each pass by about half. This covers the whole surface and stops swirl marks. Try to use the same speed and direction each time. Changing direction too much can cause uneven spots or marks.
- Move in straight lines or gentle circles.
- Overlap each stroke by 50%.
- Check your work often under bright light.
Moving the same way each time helps you avoid horse hoof marks during 8K mirror finishing process. You will get a shiny, even finish every time.
Heat Management
Polishing makes heat. Too much heat can bend the metal or ruin the polishing compound. Watch the temperature as you work. If the metal feels hot, stop and let it cool down. Use water or a cooling spray if you need to. Most experts keep the temperature close to where they started.
- Take breaks if the surface gets warm.
- Use slower speeds to lower heat.
- Add water or coolant during long jobs.
Note: Good heat control keeps your work safe and your mirror finish perfect.
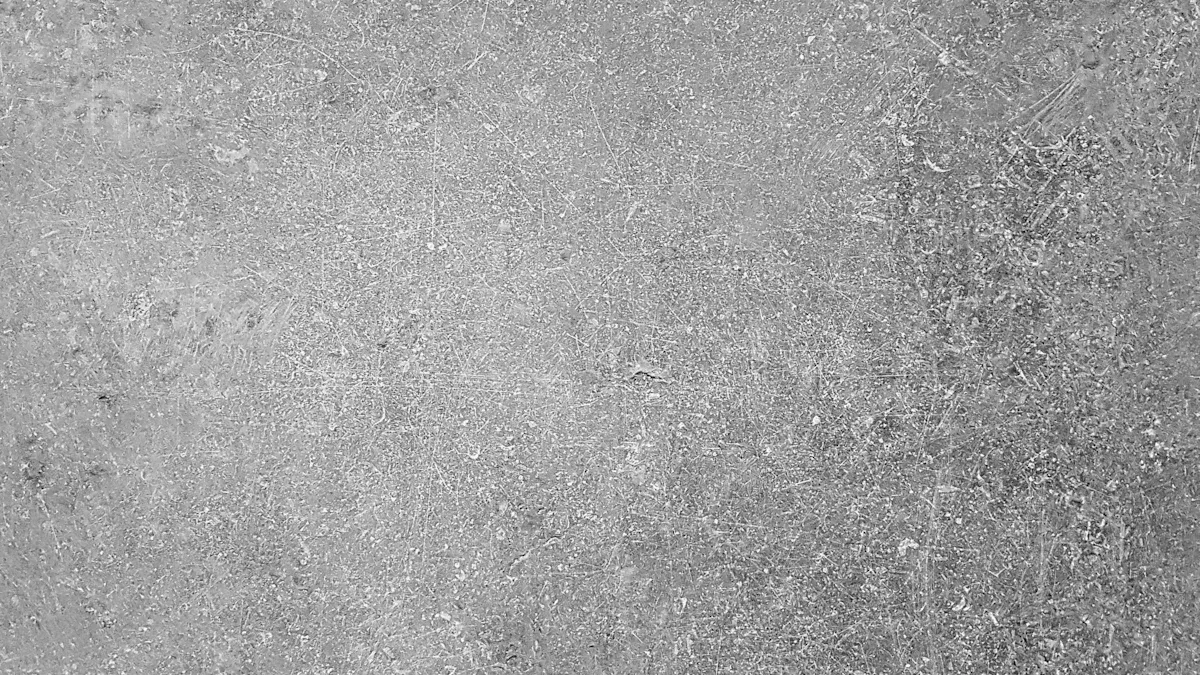
Defective stainless steel sheet
Inspection and Correction
Early Detection
You should check the metal surface often while you work. Good lighting helps you see small marks or dull spots early. Move the light around to spot any uneven areas. If you catch horse hoof marks at the start, you can fix them before they get worse.
Experts use special tools and tests to find problems early. For example, studies show that measuring the center of pressure path (COPp) helps spot changes in a horse’s gait. This method is very repeatable and can show small problems before they become big. In the same way, you can use careful inspection to find early signs of marks on your metal. Early action makes it easier to correct mistakes and keeps your finish looking perfect.
Tip: Always inspect after each polishing step. Early detection saves time and effort.
Fixing Marks
If you find horse hoof marks before you finish, you can still fix them. Follow these steps to correct the problem:
- Stop and Clean
Wipe the area with a lint-free cloth. Remove any dust or old polish. - Go Back One Grit
Use the last abrasive you used before the mark appeared. Polish the area gently to remove the mark. - Polish Again with Finer Abrasives
Move up to the next finer grit. Repeat the process until the surface looks even and shiny. - Check Your Pressure and Motion
Make sure you use even pressure and steady movement. This helps prevent new marks. - Inspect Under Good Lighting
Look at the area again. If you still see marks, repeat the steps as needed.
Step | What to Do | Why It Works |
Clean | Remove dust and polish | Stops new scratches |
Use Previous Grit | Polish out the mark | Erases the defect |
Finer Abrasives | Smooth the area | Restores shine |
Check Technique | Use steady pressure and motion | Prevents more marks |
Inspect Again | Look under bright light | Confirms the fix |
Clinical guidelines for horses show that early management and ongoing checks help recovery. Some horses improve quickly, while others take longer. The same idea works for metal finishing. You may need to repeat the correction steps more than once. Regular inspection and correction help you master How to Avoid Horse Hoof Marks During 8K Mirror Finishing Process?.
Note: Fixing marks early gives you the best chance for a flawless mirror finish.
You can get a perfect 8K mirror finish if you follow some simple steps:
- Get your workspace and the metal ready before you start.
- Pick the right tools and make sure abrasives are clean.
- Keep your pressure even and move the tool smoothly.
- Check your work a lot and fix any marks as soon as you see them.
Remember: Working carefully and checking often helps you stop horse hoof marks. Use these tips every time for great results.
FAQ
What are horse hoof marks in mirror finishing?
Horse hoof marks look like dull, uneven spots on polished metal. You see them when the surface is not smooth or when you use the wrong technique. These marks ruin the mirror effect you want.
How can you prevent horse hoof marks from forming?
You should keep your workspace and tools clean. Use the right abrasives in order. Apply even pressure and move your tool in a steady pattern. Inspect your work often to catch problems early.
Can you fix horse hoof marks after they appear?
Yes, you can fix them. Clean the area, then polish again with the last abrasive you used. Move to a finer grit if needed. Always check your pressure and motion to avoid making new marks.
Why does heat cause horse hoof marks?
Heat softens the metal and breaks down polishing compounds. This can leave streaks or dull spots. You should take breaks, use water, or slow your machine to keep the surface cool.
What tools help you check for horse hoof marks?
Use bright lights and magnifying glasses to inspect the surface. You can also use a surface roughness tester. These tools help you find marks early so you can fix them before finishing.