Troubleshooting Guide for Flying Shear Operators
Troubleshooting a flying shear fast keeps you safe. It also helps stop expensive downtime. You are important for making the machine work well. Doing regular maintenance, like cleaning every day and checking blades, stops problems. This helps prevent quick wear and blade damage.
Flying shears that are cared for waste less material, up to 10%. They also help production keep going without stopping.
When you follow easy steps, you can fix most problems early. This stops them from getting worse.
Key Takeaways
- Always do safety checks before you use the flying shear. This helps keep you and others safe.
- Check the machine every day and week. This helps you find problems early. It also keeps the machine working well.
- Make sure blades are sharp and lined up right. This gives clean cuts and stops machine damage.
- Clean, oil, and tighten bolts often. This stops breakdowns and helps the machine last longer.
- Call an expert for big electrical or mechanical problems. This keeps you safe and makes sure repairs are done right.
Flying Shear Troubleshooting
Safety Checks
You must always start with safety. Before you touch the flying shear, check that all safety guards are in place. Make sure the emergency stop button works. Test the light curtains if your machine has them.
Tip: Wear safety glasses, gloves, hearing protection, and steel-toed shoes every time you work near the machine.
Follow this checklist before you begin:
- Inspect all safety guards and covers.
- Test emergency stops and light curtains.
- Clean the area around the machine.
- Make sure everyone nearby wears proper PPE.
- Check that the work area has good lighting and no debris.
Never reach into the cutting zone. Always use hold-down clamps to secure materials. If you see any damage or something feels wrong, stop and report it right away.
Visual Inspection
Look at the flying shear closely before you start. Check for loose bolts, worn parts, or anything out of place. Watch for oil leaks under the machine. Look at the hoses and wires for cracks or wear.
Note: A quick walk-around can help you spot problems before they get worse.
Use this simple list:
- Check for leaks or puddles under the machine.
- Look for loose or missing bolts.
- Inspect hoses and wires for cracks or fraying.
- Make sure all guards and covers fit tightly.
- Confirm that the blades line up straight.
If you see anything unusual, fix it before you run the machine.
Blade Condition
Sharp blades make clean cuts. Dull or chipped blades cause uneven cuts and can damage the flying shear. Check the blades for scratches, chips, or rust.
Replace blades if you see:
- Deep scratches or chips.
- Rust or pitting.
- Blades that do not line up.
Tip: Keep a spare set of blades ready. Change them as soon as you notice wear.
Check the blade bearings too. Worn bearings can make the machine vibrate or cut unevenly.
Hydraulic System
The hydraulic system powers the flying shear. If the machine cuts poorly or does not cut at all, check the hydraulic oil level first. Top up the oil if it is low. Look at the hoses for cracks or leaks. Replace damaged hoses right away to prevent fluid loss.
You can use these diagnostic tests to check the hydraulic system:
If you hear strange noises or see jerky movement, stop and inspect the system. Clean and maintain the hydraulic parts often to keep the flying shear running smoothly.
Electrical System
Electrical problems can stop the flying shear fast. Check all electrical connections and wiring for signs of wear or damage. Replace any frayed or broken wires. Make sure all switches and controls work as they should.
Here is a quick checklist:
- Inspect wiring for cracks or loose connections.
- Test all control buttons and switches.
- Check that safety interlocks work.
- Replace any damaged parts right away.
Note: Training helps you spot electrical problems early. Always follow the manufacturer’s instructions when working with electrical parts.
If you find a problem you cannot fix, call a qualified technician. Keeping the electrical system in good shape helps prevent downtime and keeps you safe.
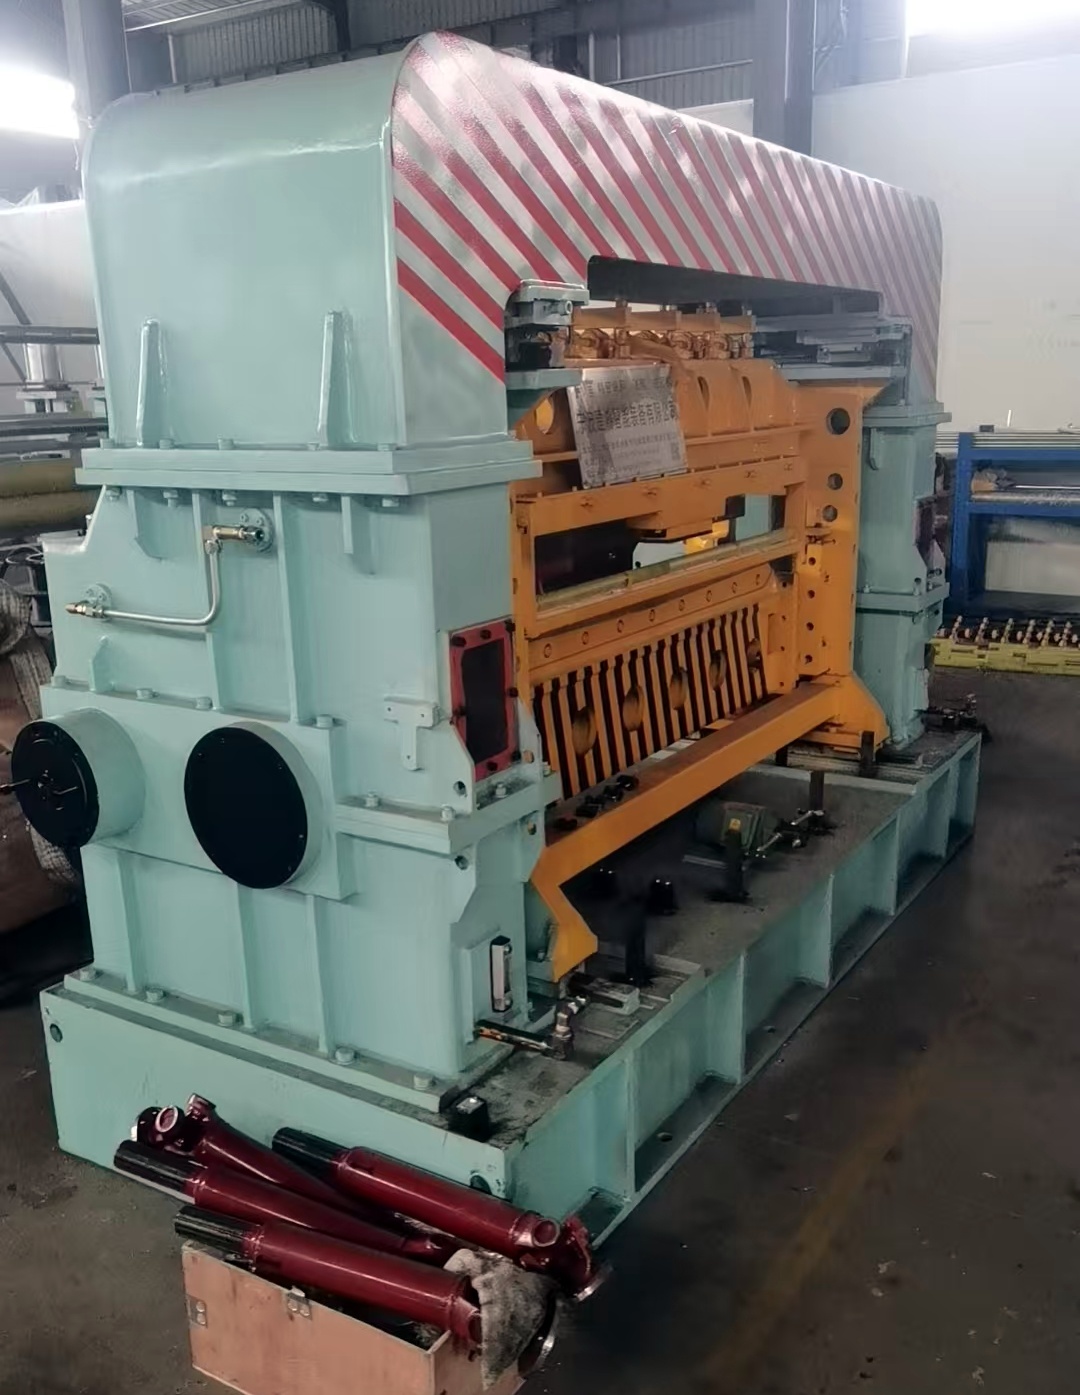
Primary Flying Shear
Maintenance Essentials
Daily Tasks
Doing daily tasks keeps your flying shear working well. At the start of each shift, check all bolts. Make sure none are loose or missing. Use a torque wrench to tighten them. Check that the pin shaft positioning block is in the right spot. Look for oil leaks or any damage on the machine. Clean up any trash or dirt before you start work.
Tip: Always turn off the power before touching moving parts.
A daily checklist helps you remember what to do:
- Look at bolts and fasteners.
- Make sure the pin shaft is in place.
- Clean the area where you work.
- Check for oil leaks or damage.
- Make sure safety guards are on.
Weekly Checks
Every week, do a deeper check on your flying shear. Look at the blades for curling, bending, or wear. Measure the blade edges and check for chips or cracks. Tighten blade bolts and always turn off the power first. Check the copper sleeve on the knife arm. If the wear gap is more than 2% of the journal size, change the sleeve.
Check all places that need oil and add more if needed. Look at oil pipes and nozzles for damage. Change any broken parts right away. Test all electrical equipment for safety and calibration. If you feel shaking, high heat, or hear strange sounds, stop the flying shear and check it before using it again.
Cleaning and Lubrication
Keeping your flying shear clean and oiled helps it run well. Wipe down the machine after every shift. Remove dust, metal bits, and oil from all parts. Pay extra attention to moving parts and the blade area.
Oil each spot that needs it every week. Use the right oil and put it on all moving joints and bearings. Check oil pipes and nozzles for clogs or leaks. Change them if they are damaged. Watch the copper sleeve on the knife arm to make sure it is oiled and sealed. Good oiling stops wear and helps prevent breakdowns.
Note: Clean and oil your machine on a set schedule. This easy habit makes your flying shear last longer.
Fastener Tightening
Loose fasteners can cause big problems. Check all bolts, nuts, and screws every day. Use the right tools to tighten them. Pay close attention to blade bolts and the pin shaft positioning block. If you find any missing or broken fasteners, change them before starting the machine.
A table helps you keep track of fastener checks:
Reminder: Keeping fasteners tight helps your flying shear work safely and well.
Doing regular maintenance keeps your flying shear working for a long time. You stop breakdowns and help your equipment last by following these easy steps.
Common Problems and Fixes
Uneven Cuts
You may notice that your flying shear makes cuts that are not straight or smooth. This problem often comes from dull blades, blade misalignment, or loose fasteners. Always check the blade sharpness first. Replace or sharpen blades if you see chips or dull edges. Next, look at the blade alignment. Use a straight edge to check if the blades line up. Tighten any loose bolts around the blade area.
Tip: Keep a record of blade changes. This helps you spot patterns and prevent future problems.
Hydraulic Leaks
Hydraulic leaks can cause weak cutting force and messy work areas. You might see oil puddles under the machine or notice a drop in oil levels. Check all hoses, fittings, and seals for cracks or wet spots. Replace damaged hoses right away. Tighten loose fittings with the correct tool. Always clean up oil spills to prevent slips.
Common leak sources:
- Hose connections
- Cylinder seals
- Pump fittings
Electrical Faults
Electrical faults can stop your flying shear fast. You may see warning lights, hear alarms, or find that the machine will not start. Inspect all wires for fraying or burns. Test control buttons and switches. Replace any damaged parts. If you cannot find the problem, call a qualified electrician.
Note: Never work on electrical parts unless you have proper training.
Noises or Vibrations
Strange noises or strong vibrations mean something is wrong. You might hear grinding, knocking, or squealing. These sounds often come from worn bearings, loose bolts, or misaligned blades. Stop the machine and check all moving parts. Tighten bolts and replace worn bearings. Realign the blades if needed.
- Listen for new sounds each shift.
- Fix problems early to avoid bigger repairs.
Alert: Never ignore unusual noises. Quick action keeps your flying shear safe and reliable.
Safety Protocols
Lockout/Tagout
You must use Lockout/Tagout (LOTO) before fixing your flying shear. LOTO stops the machine from moving by accident. It also keeps you safe from sudden energy release. OSHA says every workplace needs a written LOTO plan. This rule is in OSHA standard 29 CFR 1910.147. It helps stop about 120 deaths and 50,000 injuries each year. You have to lock and tag all energy sources before any maintenance. Your boss should teach you these steps and check that you do them. Regular checks and good records help everyone stay safe and follow the rules.
Alert: Never skip LOTO steps. Even a quick fix can be dangerous if you do not control hazardous energy.
PPE
Personal protective equipment (PPE) keeps you safe from cuts, flying pieces, and loud sounds. Always wear safety glasses, gloves, and steel-toed shoes near the flying shear. Use hearing protection if the machine is loud. Your PPE should fit well and not be broken. Change damaged gear right away.
Basic PPE checklist:
- Safety glasses or face shield
- Cut-resistant gloves
- Steel-toed boots
- Hearing protection
Blade Handling
Blades need careful handling. Always wear gloves and safety glasses when you touch blades. Lockout/tagout the machine before you work on blades. Use the right tools to take off or put on blades. Adjust blade clearance for each material with feeler gauges. Make small, careful changes to keep cuts clean and blades sharp. Check blade bolts and machine parts to make sure they are tight. Clean and check blades often to stop accidents and help them last longer.
- Keep blades sharp and clean.
- Use lifting tools for heavy blades.
- Store blades in a safe, dry place.
Emergency Stop
You must know where the emergency stop button is at all times. Test it at the start of every shift. If something goes wrong, press the emergency stop right away. This cuts power and stops the machine fast. Make sure everyone nearby knows how to use the emergency stop. Fast action can stop injuries and protect the machine.
Tip: Practice emergency drills so you can act fast in real situations.
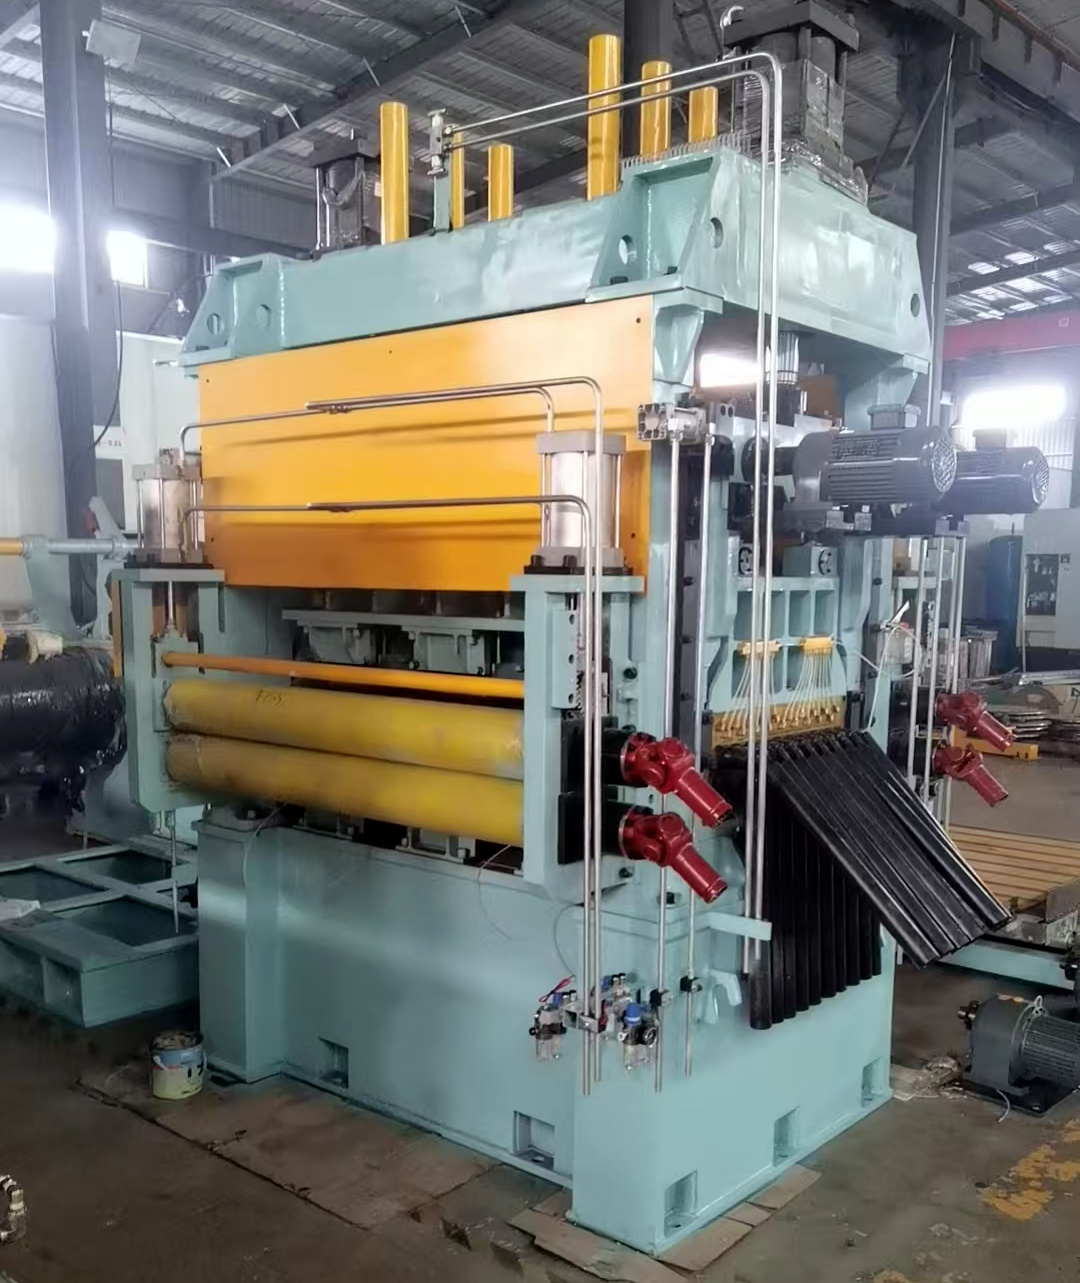
Flying Shear
When to Call a Pro
Major Failures
You can fix many flying shear problems with simple checks. But sometimes, you need a professional for bigger issues. Major failures can stop your machine or make it unsafe. Call a pro if you notice these things:
- The motor will not start or keeps turning off.
- The control panel shows codes you do not know.
- You hear loud buzzing or smell burning wires.
- The machine keeps tripping circuit breakers.
- Hydraulic pressure stays low after you check it.
Electrical problems cause many flying shear failures. Some are easy to see, like a blown fuse. Others, like motor or control panel problems, need an expert. Regular electrical checks can stop many issues. If you see a hard electrical problem, do not try to fix it. A trained technician can repair it and help your machine last longer.
Alert: Never open electrical panels or fix wiring unless you have special training. You could get hurt or make things worse.
Professional service helps you follow the manufacturer’s rules. This keeps your flying shear safe and working well.
Service Documentation
You should keep clear records every time you call a professional. Good records help you track repairs and see patterns. Write down the date, the problem, and what the technician fixed. Save any service reports or receipts.
A simple table can help you organize your records:
Keeping records helps you plan future maintenance. You can show these records to your boss or the next technician. This makes repairs faster and helps stop the same problem from happening again.
Tip: Look at your service records each month. This habit helps you find small problems before they turn into big ones.
You help your flying shear work well and stay safe by doing regular checks and fixing problems. Use a checklist each day to find issues early. Follow your maintenance plan so the machine does not break down. If you see a problem you cannot fix, tell your boss right away. Always write down when you fix or service the machine. Keeping good notes helps you see patterns and keeps your flying shear working.
FAQ
How often should you replace flying shear blades?
You should check blades daily. Replace them when you see chips, dull edges, or rust. Keeping sharp blades helps you get clean cuts and protects the machine.
What should you do if the flying shear makes loud noises?
Stop the machine right away. Listen for grinding or knocking. Check for loose bolts, worn bearings, or misaligned blades. Fix these issues before you restart.
Can you use any oil for the hydraulic system?
No, always use the oil type listed in your machine manual. The right oil keeps the hydraulic system working well and helps prevent leaks.
Why does the flying shear cut unevenly?
Uneven cuts often mean dull blades, loose fasteners, or blade misalignment. Check blade sharpness and alignment. Tighten all bolts. Replace or adjust parts as needed.
What records should you keep for maintenance?
Keep a table with dates, problems found, actions taken, and technician names.
Good records help you track issues and plan future maintenance.